Patched: OpenSSL Heartbleed Vulnerability CVE-2014-0160

Patched: OpenSSL Heartbleed Vulnerability CVE-2014-0160

Debian Wheezy, Jessie, Sid
https://www.debian.org/security/2014/dsa-2896
# apt-get upgrade openssl

Ubuntu 12.04, 12.10, 13.10
http://www.ubuntu.com/usn/usn-2165-1/# apt-get upgrade openssl

RHEL/CentOS 6.5
https://rhn.redhat.com/errata/RHSA-2014-0376.html
http://lists.centos.org/pipermail/centos-announce/2014-April/020249.html
# yum update openssl

ShellShock,CVE-2014-6271

ShellShock or CVE-2014-6271

Test If You Have The Bug
test@srv-test:$ env x='() { :;}; echo vulnerable’ bash -c “echo this is a test” env x='() { :;}; echo vulnerable’ bash -c “echo this is a test”

Positive Result
vulnerable
this is a testNegative Result
bash: warning: x: ignoring function definition attempt
bash: error importing function definition for `x’
this is a test

Examples Command

RHEL: #yum clean all && yum update bash
On my older RHEL 5 box: # rpm -Uvh bash-3.2-33.el5.1.i386.rpm

CentOS: #yum clean all && yum update bash

Ubuntu: $update-manager -or- $sudo apt-get update

Install Solaris 11.2

Install Solaris 11.2

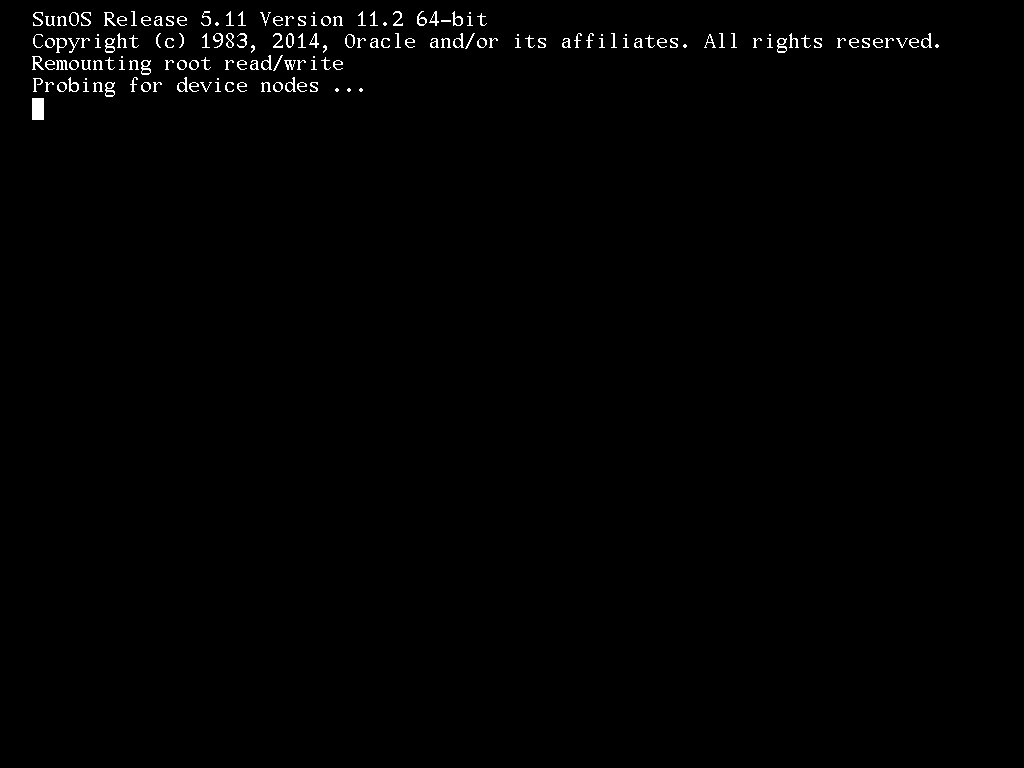
1. Boot DVD Image Solaris 11.2

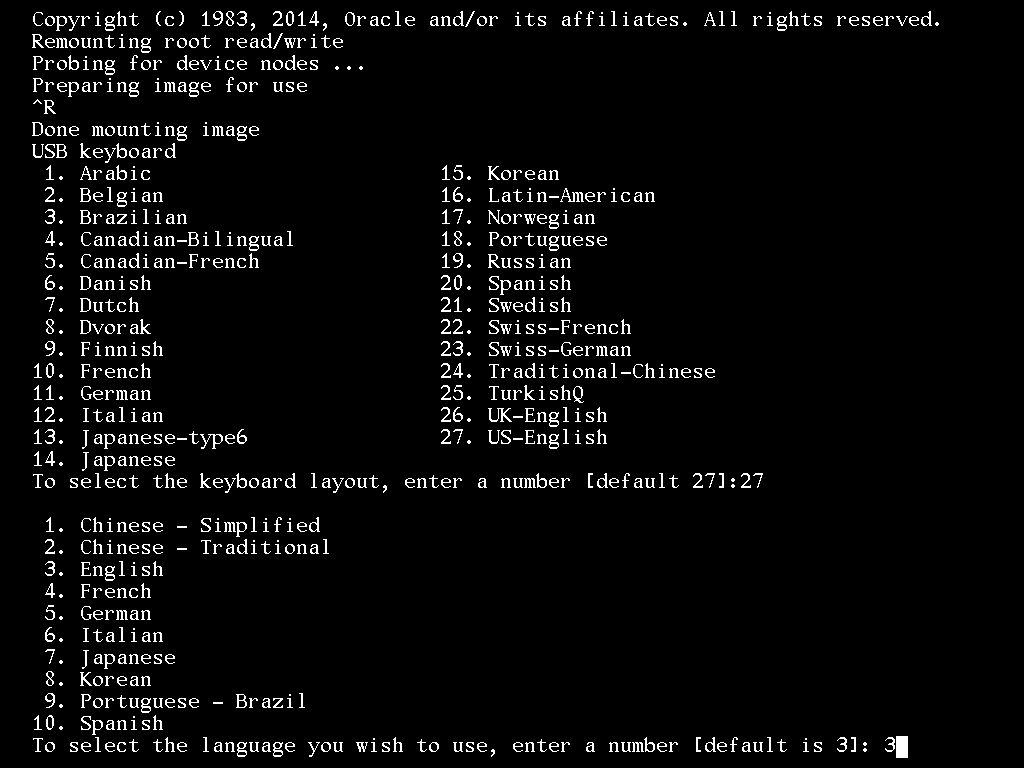
2. Select the keyboard layout   [27 = US-English]
3. Select the language  [3 = English]
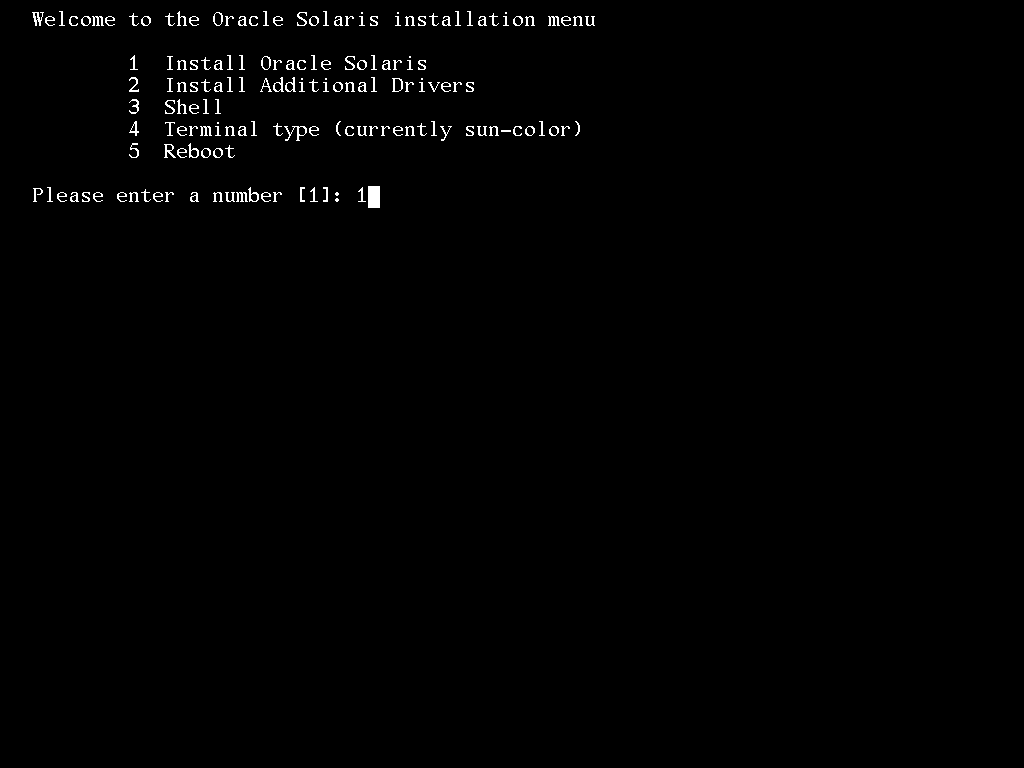
4. Please enter a number 1   [Install Oracle Solaris]
5. Select the “F2”
6. Select the “Local Disks” and “F2”
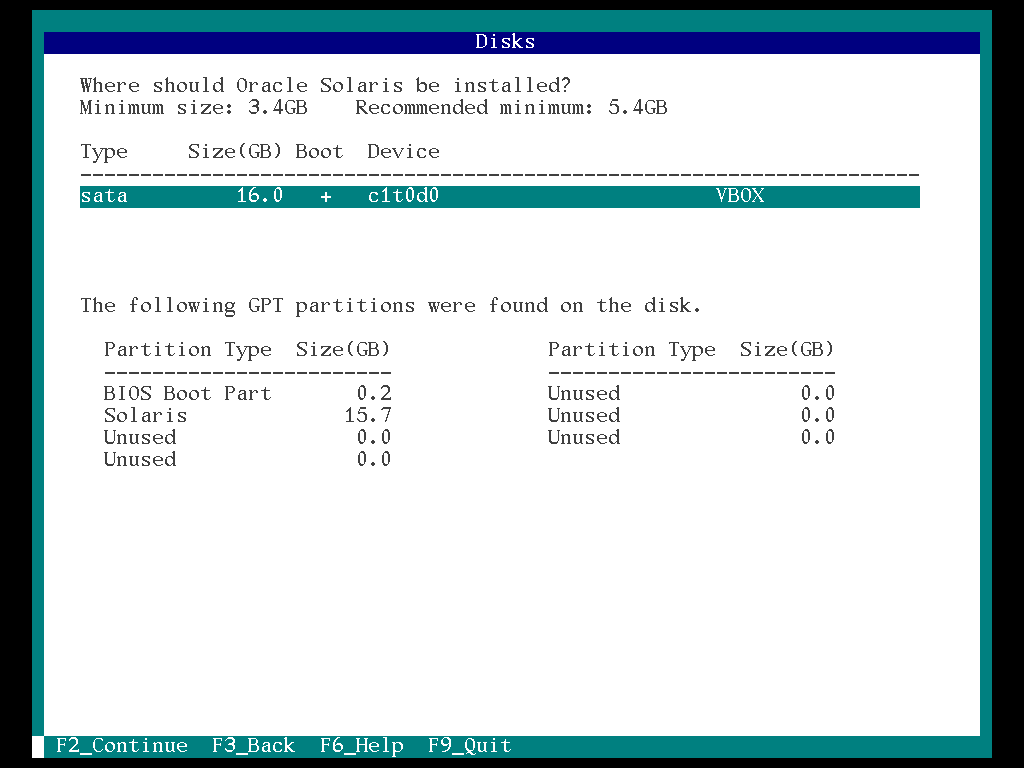
7. Select the “Disk (sata = c1t0d0)” and “F2”
8. Select the “Use the entire disk” and “F2”

9. Enter a name for this server and select “F2”

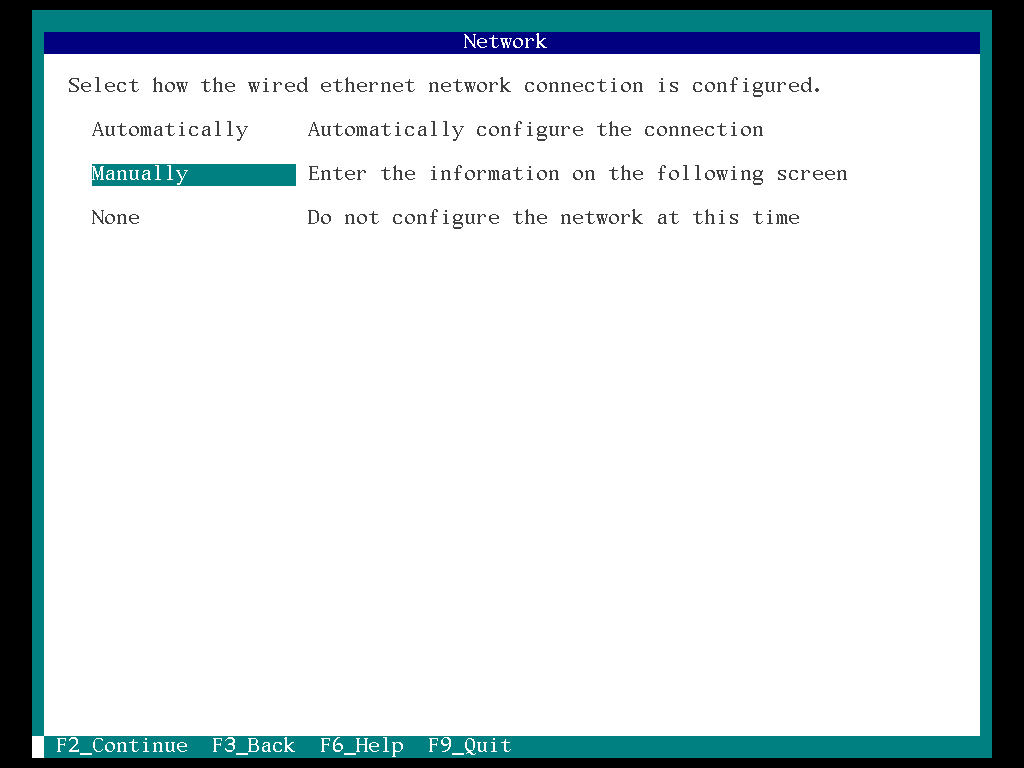
10. Select the “Manually” and “F2”
11. Enter the configuration for this network connection and select “F2”
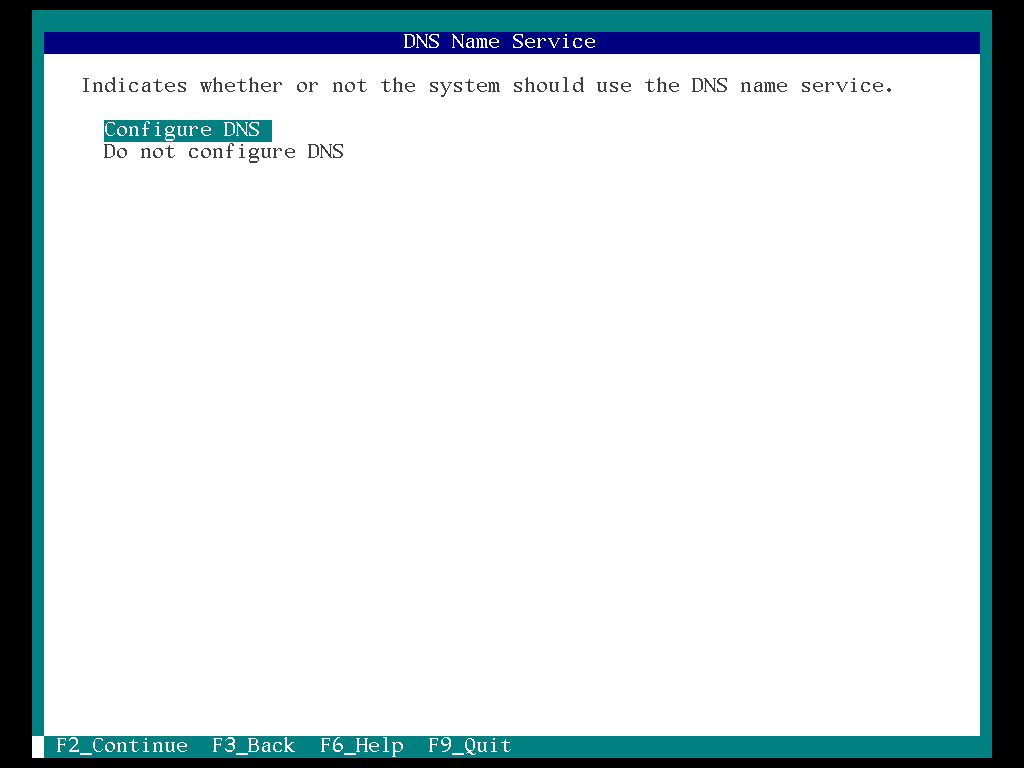
12. Select the “Configure DNS” and “F2”
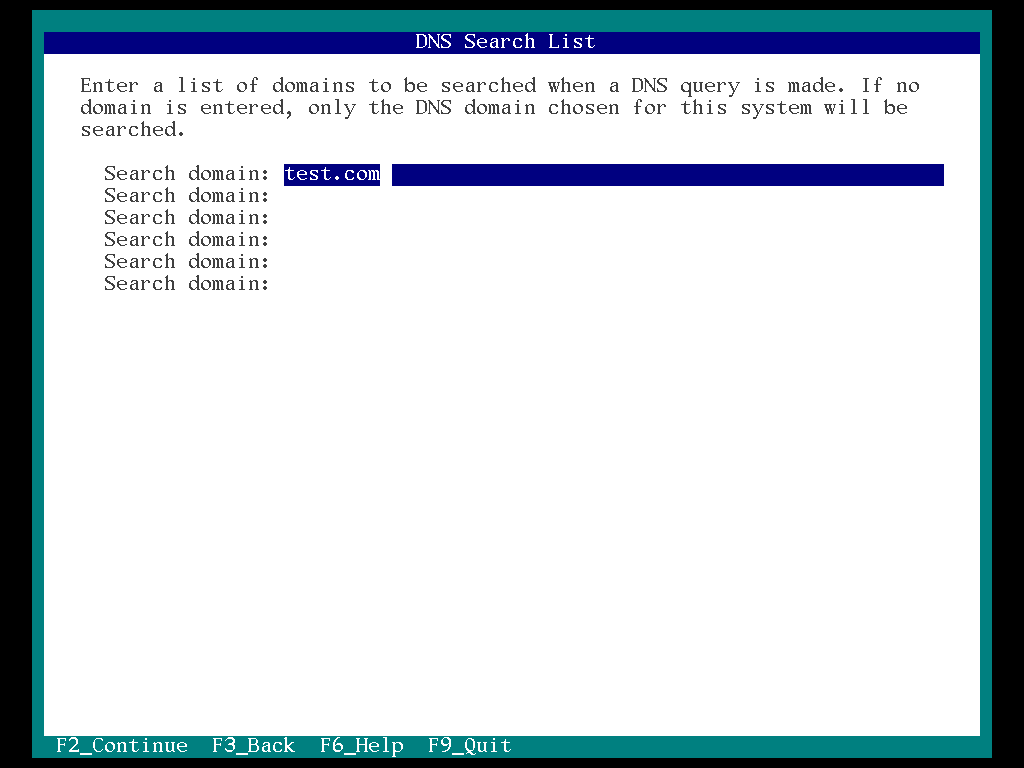
13. Enter a list of domains and select “F2”


14. Enter the IP address of DNS server and select “F2”

15. Select the “None” and “F2”

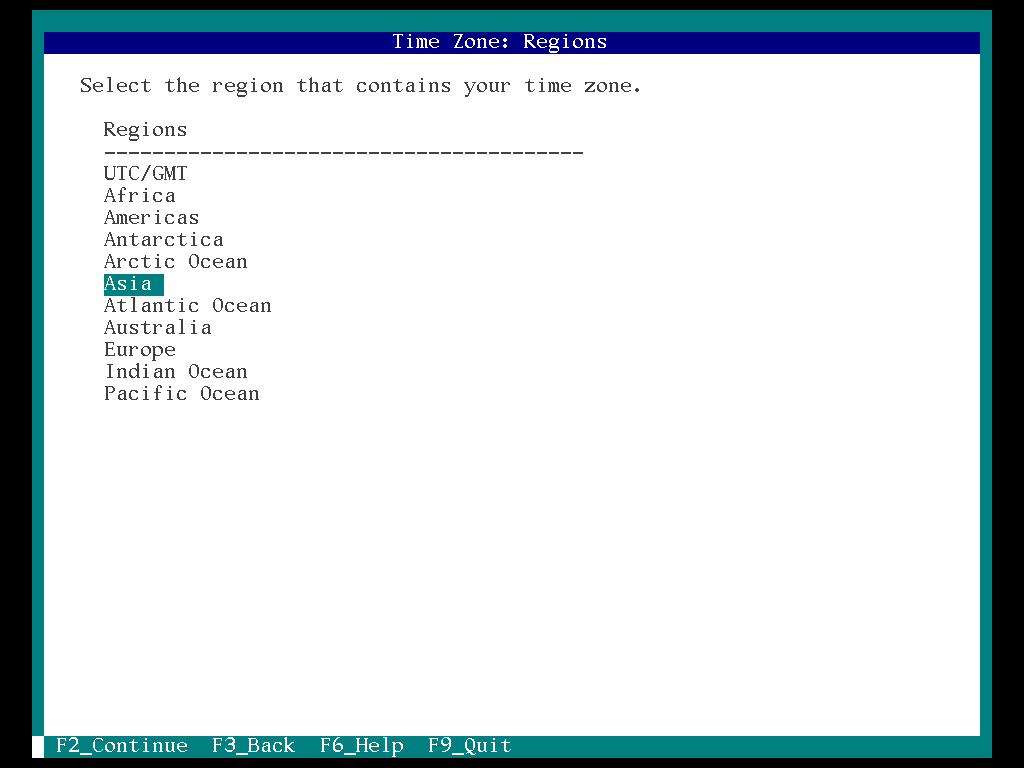
16. Select the “Region (Asia)” and “F2”

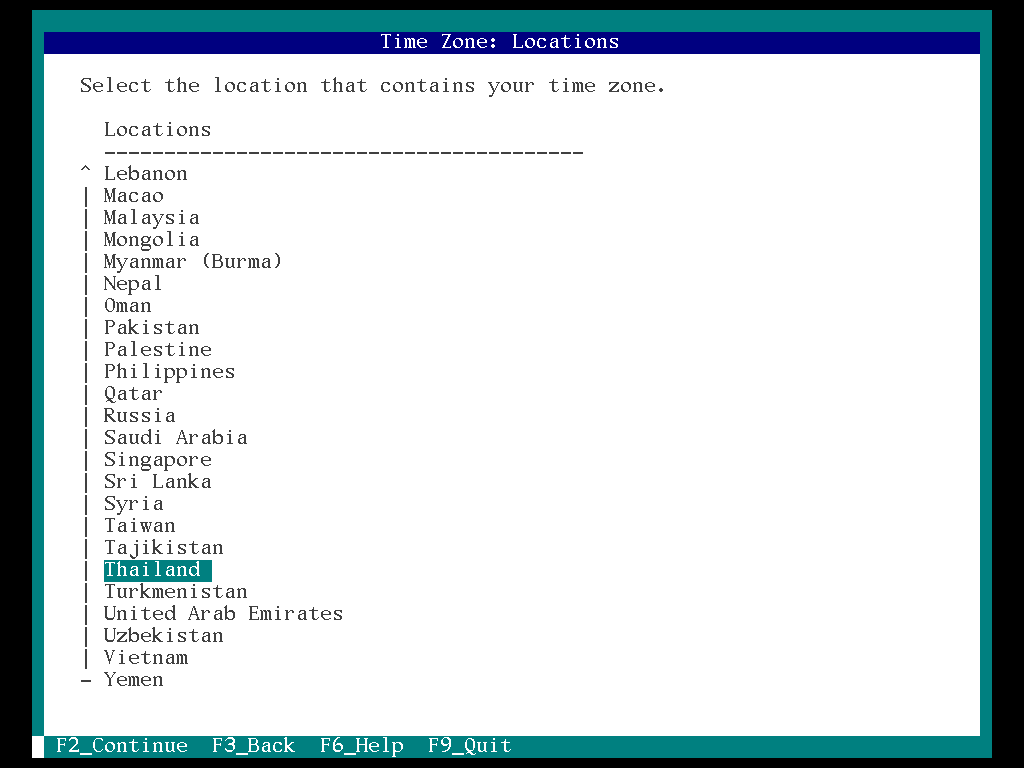
17. Select the “Location (Thailand)” and “F2”

18. Select the “Time Zones (Asia/Bangkok)” and “F2”

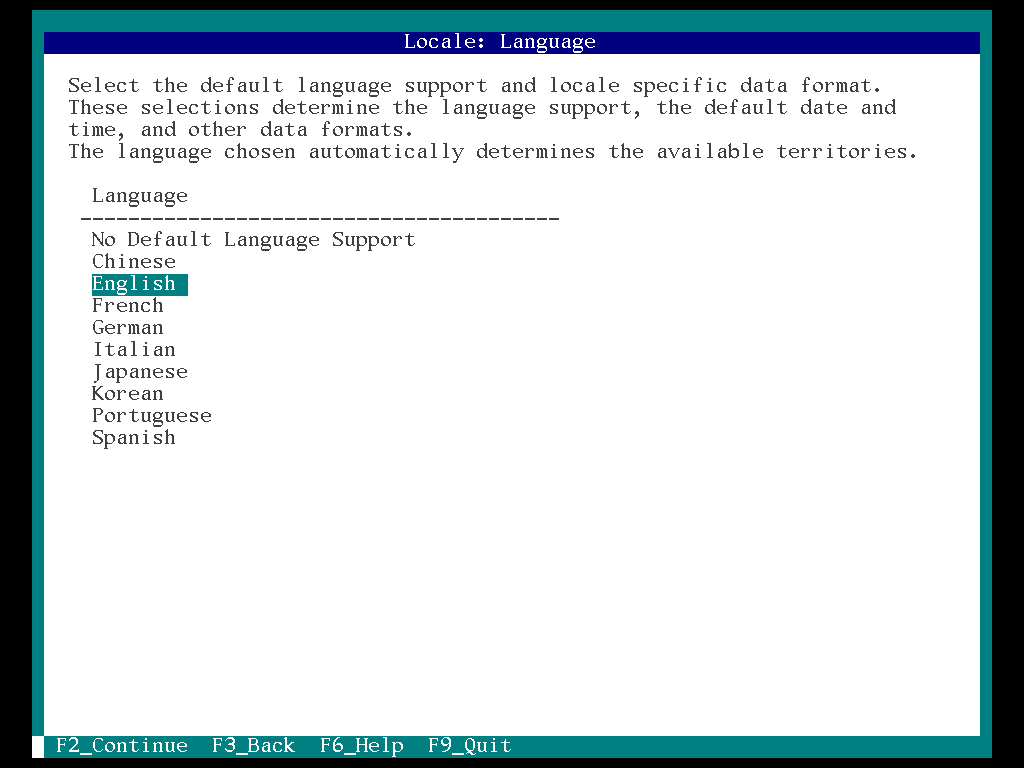
19. Select the “Language support (English)” and “F2”

20. Edit the date ant time and select “F2”

21. Select your keyboard “US-English” and “F2”

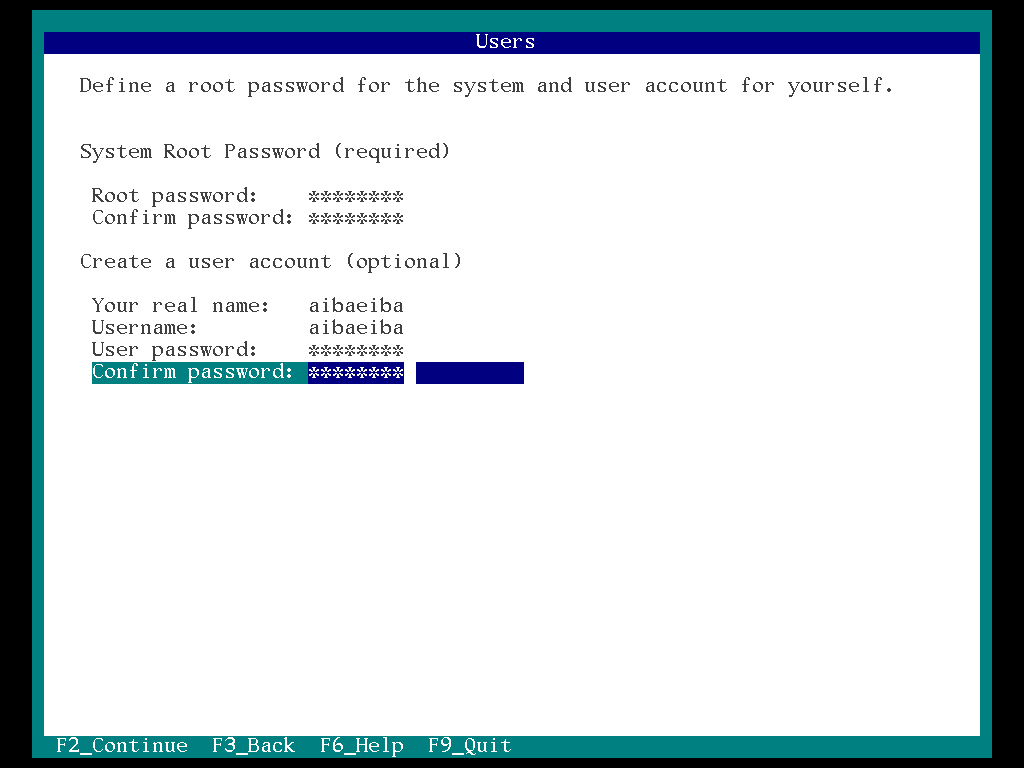
22. Enter the root password , create user account and select “F2”

23. Select the language “United States” and “F2”
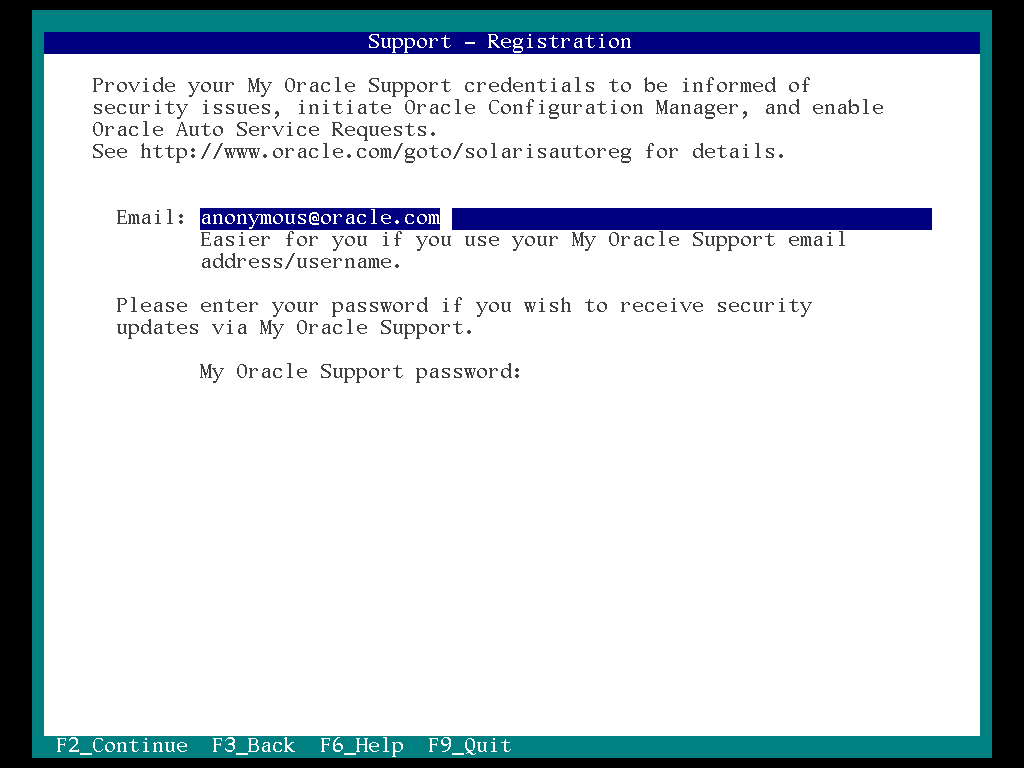
24. Select the “F2”

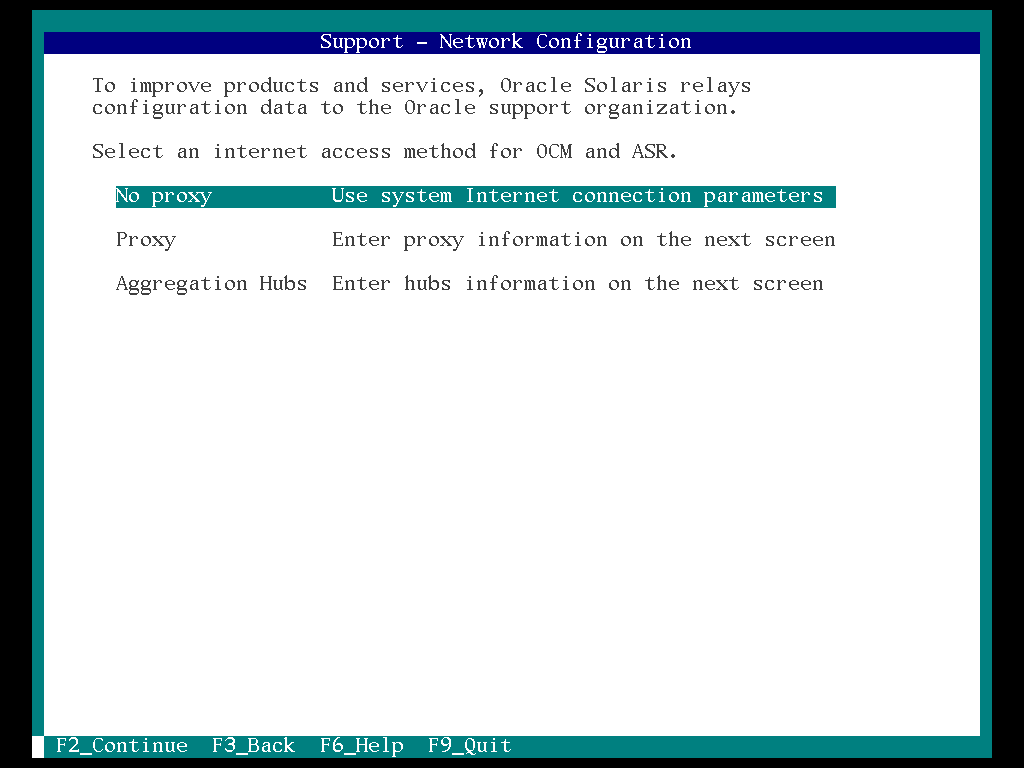
25. Select the proxy server “No proxy” and “F2”

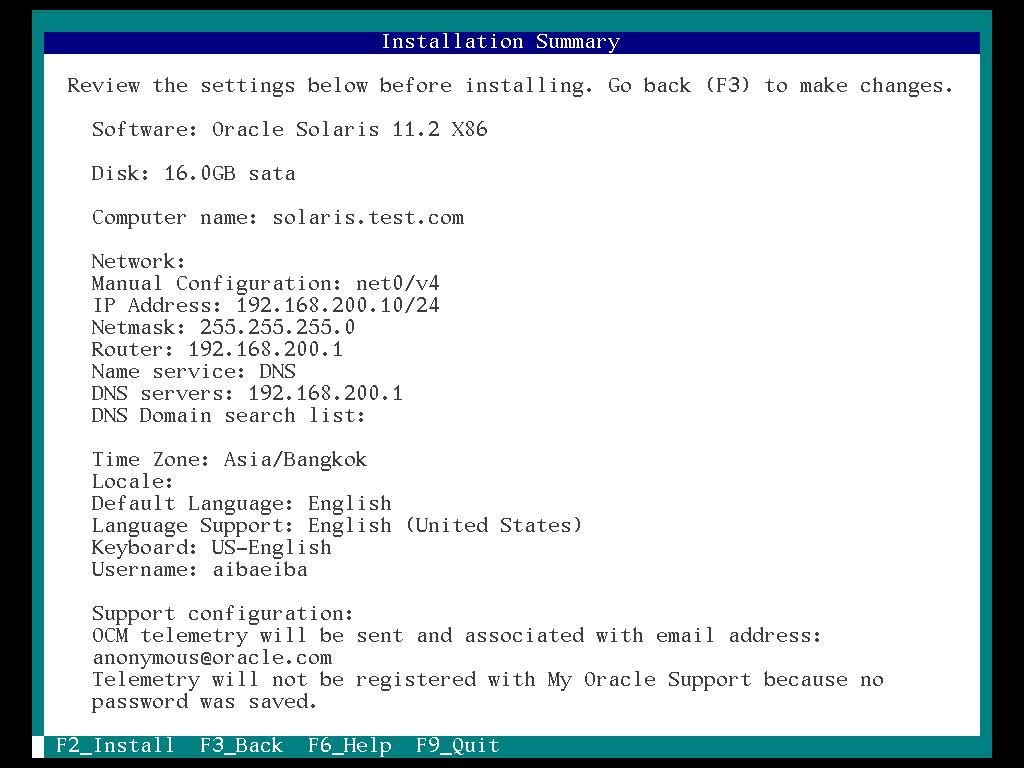
26. Review the settings summary and select the “F2”

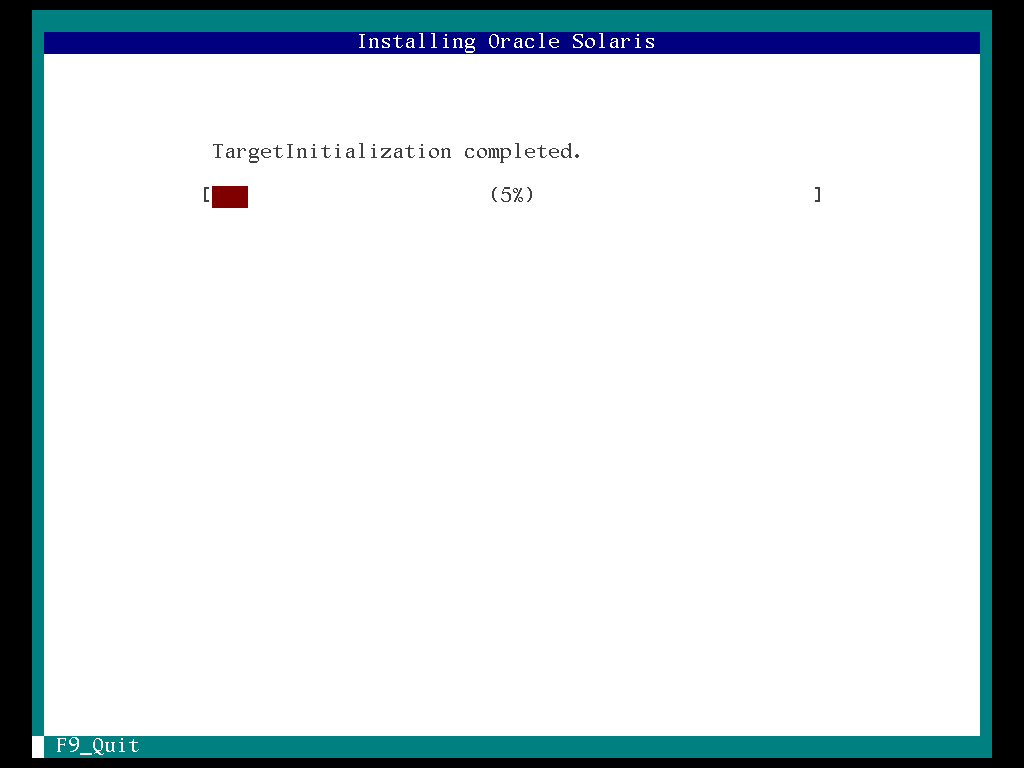
27. Installing Oracle Solaris

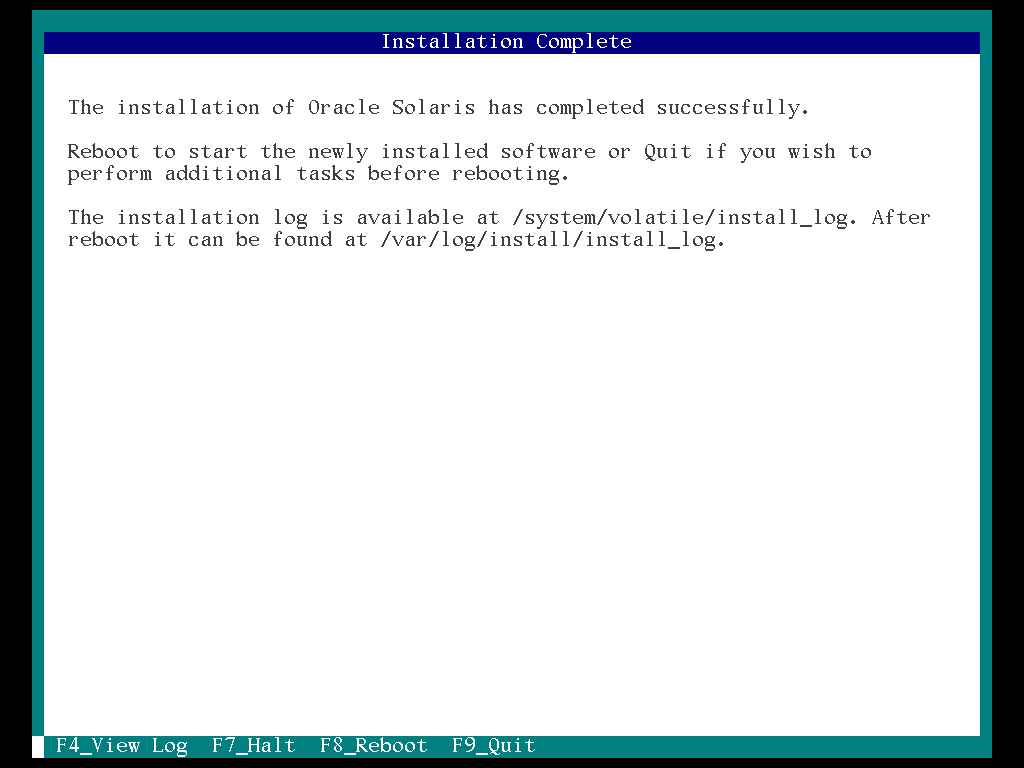
28. Installation complete and select the “F8”

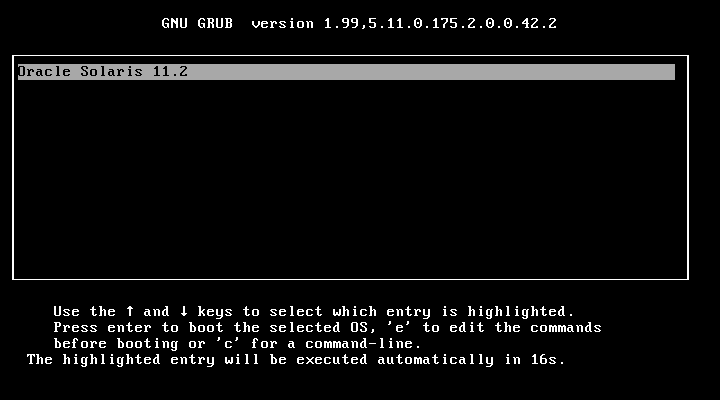
29. Select the “Oracle Solaris 11.2”

30. Loading SunOS (Solaris 11)

31. Please login OK!


Zimbra CSR Creation & SSL Installation

Zimbra CSR Creation & SSL Installation

Zimbra CSR Creation

1. Log in as root.
Adjust the following command to match your information: /opt/zimbra/bin/zmcertmgr createcsr comm -new “/C=US/ST=Utah/L=Lehi/O=Company Inc/OU=Department/CN=your.domain.com” Where:

  • C = 2-digit country code
  • ST = State/Province
  • L = City
  • O = Organization Name
  • OU = Department (e.g., IT Department)
  • CN = Common Name (mail.domain.com, *.domain.com)

2. Running this command will output the CSR to the following location: /opt/zimbra/ssl/zimbra/commercial/commercial.csr

You will use the CSR to place the order for the certificate (select “Other” as the server software when placing your order).

Zimbra SSL Installation

1. Once you receive the .zip containing the certificate files, extract the “certs” folder somewhere on your server. We will be combining some the files you received in to a PEM format. To create the pem file, you can reference our PEM instructions or follow the next steps of these instructions.

2. Take your server certificate (your_domain_name.crt) and copy it to a file called commercial.crt in the following directory: /opt/zimbra/ssl/zimbra/commercial/

3. With a text editor (such as wordpad or notepad), copy and paste the entire body of each of the following certificates into one text file in the following order:
The First Intermediate Certificate – DigiCertCA.crt
The Second Intermediate Certificate(if a 2nd intermediate cert is supplied) – DigiCertCA2.crt
The Root Certificate – TrustedRoot.crt

Make sure to include the beginning and end tags on each certificate. The result should look like this:

—–BEGIN CERTIFICATE—–
(Your First Intermediate certificate: DigiCertCA.crt)
—–END CERTIFICATE—–

—–BEGIN CERTIFICATE—–
(Your Second Intermediate certificate (if applicable): DigiCertCA2.crt)
—–END CERTIFICATE—–

—–BEGIN CERTIFICATE—–
(Your Root certificate: TrustedRoot.crt)
—–END CERTIFICATE—–

4. Save the combined file as commercial_ca.crt in the following directory: /opt/zimbra/ssl/zimbra/commercial/

5. Run the following command to validate the certificate chain: /opt/zimbra/openssl/bin/openssl verify -CAfile commercial_ca.crt commercial.crt

6. Once the certificate chain is validated, you can run the following command to enable the new certificate for use: /opt/zimbra/bin/zmcertmgr deploycrt comm commercial.crt commercial_ca.crt

https://www.digicert.com/csr-creation-ssl-installation-zimbra.htm
 

Single DHCP Server with Multiple VLAN pools

Single DHCP Server with Multiple VLAN pools

vi /etc/dhcpd.conf
 
An example of the completed dhcp.conf file

# DHCP configuration
# Started: 2010-02-21
# Modified: 2012-05-07

authoritative;                  
ddns-updates off;         
log-facility local7;          
default-lease-time 7200;     
max-lease-time 14400;        
option domain-name-servers 192.168.0.2, 192.168.10.2; 
option ntp-servers 192.168.0.10, 192.168.10.10;                

subnet 192.168.1.0 netmask 255.255.255.0 {
}

## Classroom One – VLAN 100
subnet 192.168.100.0 netmask 255.255.254.0 {
  range 192.168.100.2 192.168.101.254;
  option domain-name “classroom.dept.domain”;
  option subnet-mask 255.255.254.0;
  option broadcast-address 192.168.101.255;
  option routers 192.168.100.1;
}

## Classroom Two – VLAN 102
subnet 192.168.102.0 netmask 255.255.255.0 {
  range 192.168.102.2 192.168.102.254;
  option domain-name “classroom.dept.domain”;
  option subnet-mask 255.255.255.0;
  option broadcast-address 192.168.102.255;
  option routers 192.168.102.1;
}

## Classroom Three – VLAN 103
subnet 192.168.103.0 netmask 255.255.255.0 {
  range 192.168.103.2 192.168.103.254;
  option domain-name “classroom.dept.domain”;
  option subnet-mask 255.255.255.0;
  option broadcast-address 192.168.103.255;
  option routers 192.168.103.1;
}

## Lab One – VLAN 105
subnet 192.168.105.0 netmask 255.255.255.0 {
  range 192.168.105.2 192.168.105.254;
  option domain-name “labs.dept.domain”;
  option subnet-mask 255.255.255.0;
  option broadcast-address 192.168.105.255;
  option routers 192.168.105.1;
}

## Lab Two – VLAN 106
subnet 192.168.106.0 netmask 255.255.255.0 {
  range 192.168.106.2 192.168.106.254;
  option domain-name “labs.dept.domain”;
  option subnet-mask 255.255.255.0;
  option broadcast-address 192.168.106.255;
  option routers 192.168.106.1;
}

## ERooms – VLAN 110
subnet 192.168.110.0 netmask 255.255.255.0 {
  range 192.168.110.2 192.168.110.254;
  option domain-name “labs.dept.domain”;
  option subnet-mask 255.255.255.0;
  option broadcast-address 192.168.110.255;
  option routers 192.168.110.1;
}
## END